
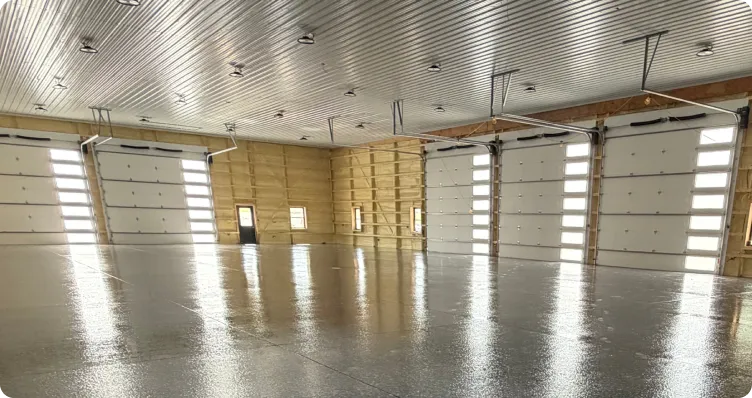
Photograph the room as a whole
Start with views showing the entire floor and its relationship to doors, fixtures and adjoining spaces. Label the room and indicate where the photograph was taken if the layout is difficult to follow. Include approximate dimensions so the images have a useful sense of scale.
Add close views of peeling finishes, cracks, damaged edges and recurring stains. Keep the detail photographs connected to their location on the room plan. An isolated close-up may show a defect without explaining how much floor it affects.
Supply the facts an image cannot show
Explain how the room is used, what equipment moves through it and how the floor is cleaned. Share any history of repairs, moisture concerns or previous coatings. If a detail is unknown, mark it as unknown rather than inferring a material or cause from appearance.
Describe who can provide access and what must move before the concrete can be evaluated. Mention fixed fixtures and surfaces outside the requested work. This information helps turn photographs into an organized project brief rather than a visual finish request alone.
- Take overall room views before close defect photographs.
- Label each image by room or floor location.
- Provide approximate dimensions and intended boundaries.
- List operating conditions and any missing floor records.
Use the assessment to settle the proposal
Compare solid color, flake or another suitable finish once use and existing conditions are reviewed. Ask the proposal to identify preparation, suitable repairs and the areas included. Reference photos can explain style, but they do not establish readiness for coating.
Send the Westwood Hills property address with the photo set and room brief. Include the timing you hope to achieve and any access restrictions. Before scheduling, confirm responsibilities for clearing the floor and the return-to-use requirements for the selected system so the next step is based on a defined project.